By a very dedicated 1:500 scale aircraft collector from Rome Italy, Alessandro! His work has amazed thousands of collectors worldwide. Having already built from scratch 5 different airports (among them, Funchal, Dusseldorf and Corfu) he has been an inspiration to hundreds more. Alessandro's drive is unique really, as his endless effort to create, update and photograph his airports have become a daily activity.
Let me guide you through his step by step procedure of completing his task.
DAY 1
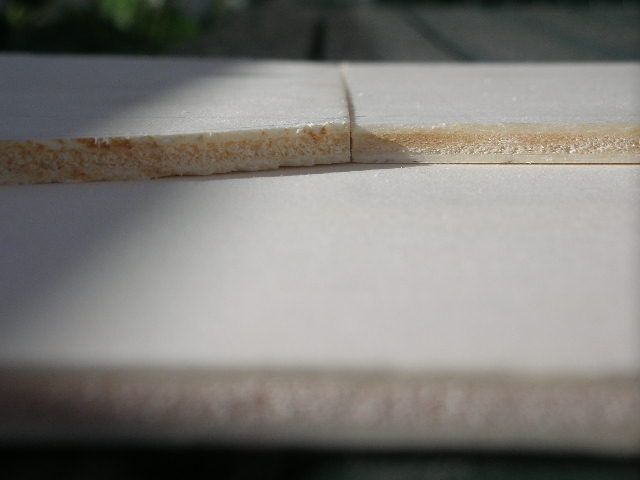
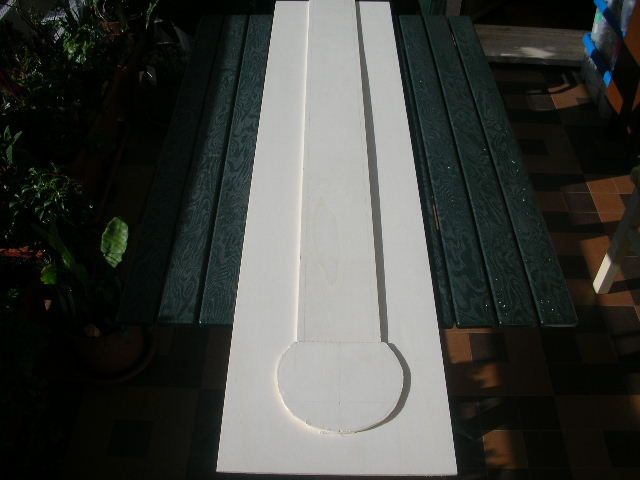
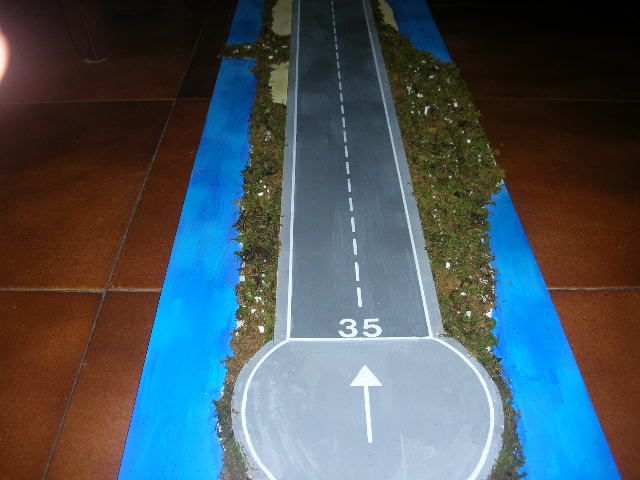
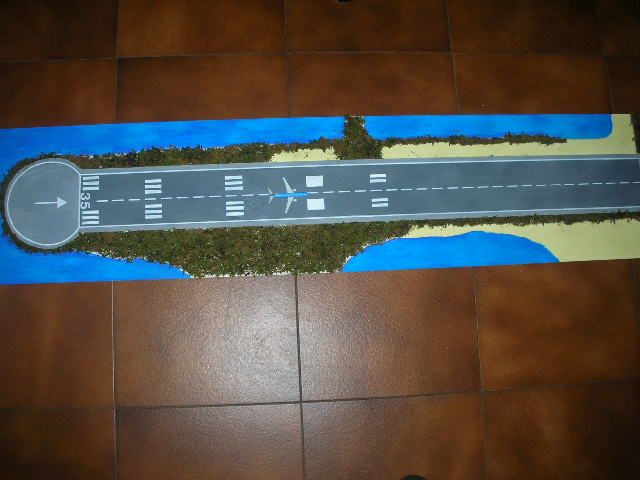
In this first batch of photos you can see the wood panels used; Corfu airport is surrounded by various landscapes: water, grass, sand. Half part of the runway (No 35) is on the water with a grass border, so he had to build a wooden runway on top of a wooden base in order to paint the sea and to add some grass on the borders. What the numbered pieces are:
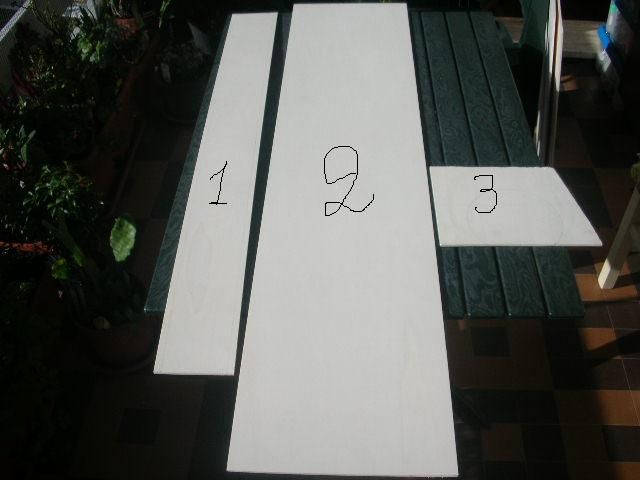
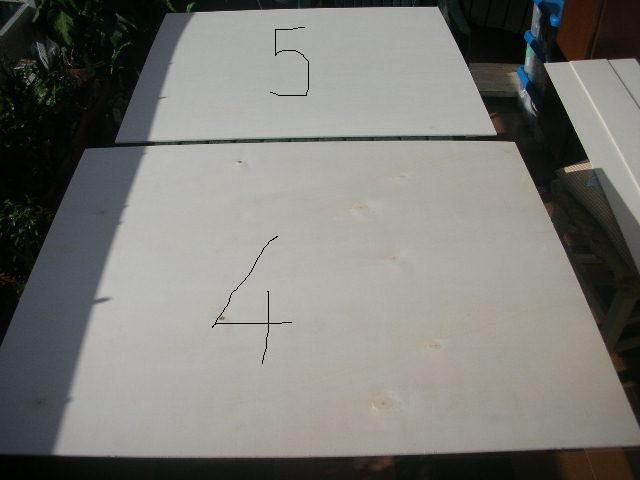
1: Rwy 35 / 2: landscape / 3: Round backtrack at the end of Rwy 35 / 4+5: airport, Rwy 17 & apron.
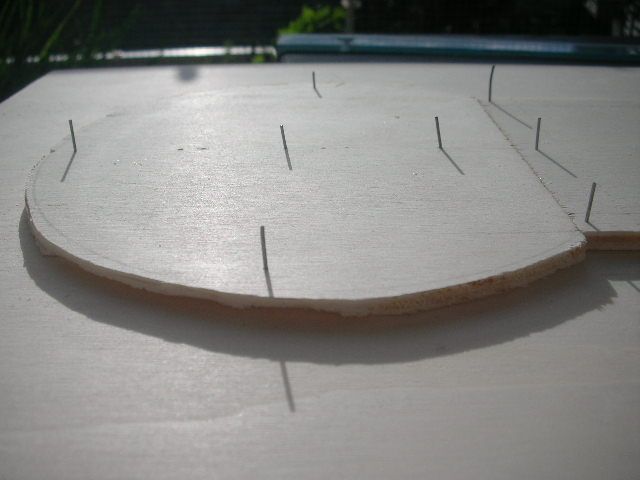
Stick the upper wood panel (runway 35) with glue and then hammer some small nails.
 Paint everything with the white-waterproof-mordant paint. (removable only with turpentine from surfaces and brushes)
Let it rest 24 hours (for the mordant paint to dry).
DAY 2
Again, the runway piece is placed over the landscape-wood and the white mordant waterproof paint is dry (it is important to make the wooden panels water resist!). Now you can commence starting to paint the runway and the sea around the runway (actually it is an artificial lake around Corfu runway).
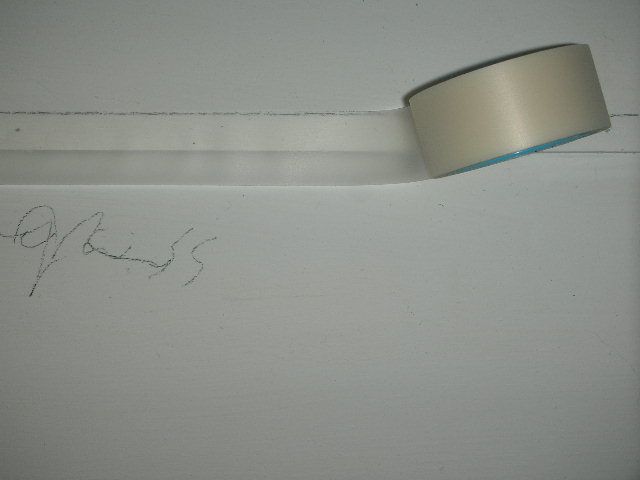
Before starting to paint the runway and the water, use masking tape to maintain straight lines on the borders.
The runway asphalt is made of white and gray (with a little quantity of Payne gray); for the water use the blue color of your choice. All colors used are tempera colors! They are diluted with water but, being in fact made by water, they can be removed and corrected with water in case of a mistake NO PROBLEM really! Acrylic colors can not be removed and any misshap is trouble or eternal.
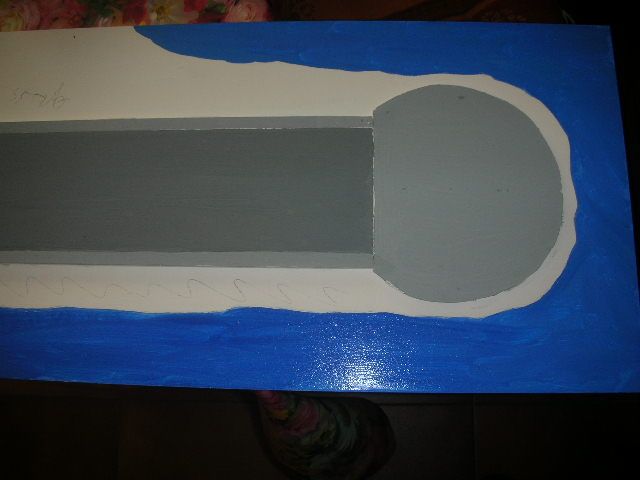
The runway asphalt is made of white and gray (with a little quantity of Payne gray); for the water use the blue color of your choice. All colors used are tempera colors! They are diluted with water but, being in fact made by water, they can be removed and corrected with water in case of a mistake NO PROBLEM really! Acrylic colors can not be removed and any misshap is trouble or eternal.
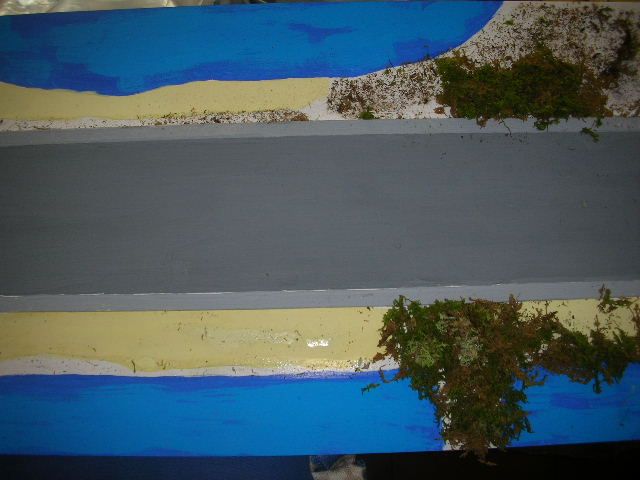
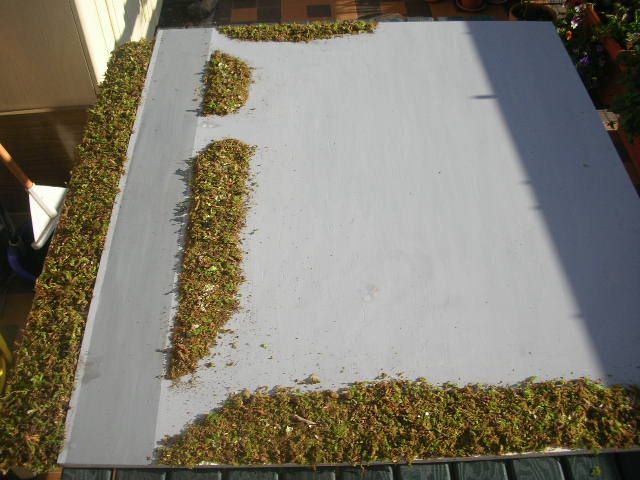
Now it's time to glue the grass around the runway (using artificial grass, cut very very short) and to paint the ground. To stick the grass, used simple glue. This is the tempera color for the sand.
Quick preview:
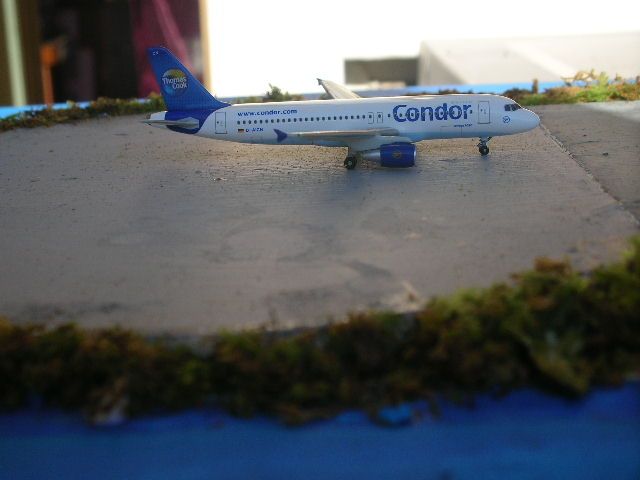
To paint the apron use a lighter gray than on the runway.
Apply some grass also around the taxiways...
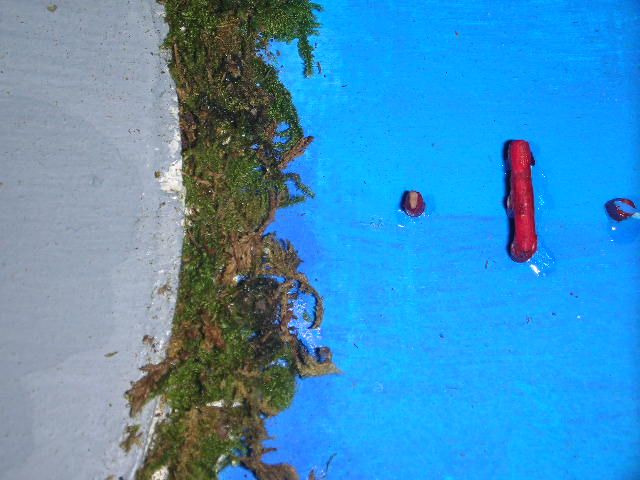
Corfu used tree trunks for the the landing lights. Later on they were replaced by the metal structures.
To draw the runway lines use marker
colors and rulers while for the 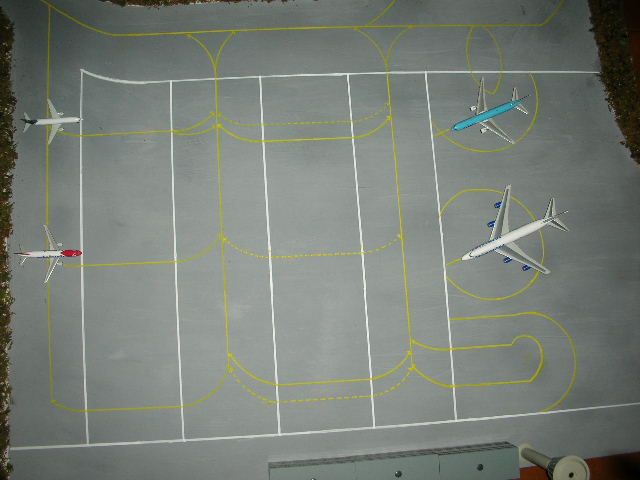 numbering use ready made adhesive ones.
numbering use ready made adhesive ones. Same goes for the apron taxi ways. Use Uniposca marker colors and round rulers.
And VOILA!! You are ready for takeoff!
-------------------------------------------------------------------------------------------------------------------------
Ever felt like your "army" of models is losing its glamour after some time?

Truth is that to the friends n family of yours, the model aircraft collection in your room, does seem all that exciting. After a period of time, your self even may find that this partly dusted "army" of small airplanes has lost its glamor.

Well, I got you a real sweet idea, to give that cabinet a breeze of fresh air. With a VERY simple 1,2,3 step procedure, your cabinet may be more exciting that the actual field trip to your local airport for spotting!
First off, measure your cabinets interior walls and the distance between the shelfs. Imagine creating a different background for EACH shelf. That way you can separate your collection to your likes, according to eg.: country, era, airline etc.
Design the background (I could surely provide you with one if you would like ;) ) or use photographs you have taken, or from a free shared online source and crop it to the dimensions measured in you cabinet. Once you have designed it, find a local plotter printing services store and have it printed on an adhesive "vinyl paper". This makes it easy to apply and very easy to take off once you are bored of it. Also ask for a mate coating service.
Now you will need 2 kinds tools. Man's worst invention, the credit card and a handheld spray pump with water and a drop of dish washing soap.

Spray the cabinet walls evenly just enough to have tiny droplets standing on it. Don't get it soaking and running all over the place!
Then take the roll of the printed vinyl, remove a tiny bit of the paper behind it, wet it with the spray and apply it slightly on the cabinet wall with such a manner, that it will follow the rest of the sticking procedure in a straight line! THIS IS THE HARDEST PART! Try to align it with any possible way (eg, draw a pencil line before hand, to keep on a straight horizontal line)

As soon at the STRAIGHT line is accomplished proceed with the unrolling and unsticking of the printed paper using the credit card along the center of the vinyl

As you go along, wet the upper layer of the vinyl with water and swipe that card from center to the edges to remove the withheld water droplets under the vinyl. Apply PRESSURE after the 2nd and 3rd time of going over the same spots.Do not fear you doing this to hard cause vinyl is flexible and the card will go along smoothly.

Moving along you will find it easier to apply it. Like I said, the beginning is the toughest part!!
Also create different heights to host different scale aicrafts per shelf like 1:500 to 1:200 shelfs

You can also do the same for the ground creating an apron design or purchasing a ready made ground foil for a total reality effect!
You may notice my light supplies I have placed on top of the cabinet, to add some daylight effect and night. This is also a nice option but prefer lighting systems that do not raise significant temperatures as the halogen systems, to avoid the plastic models from melting or possible fire!!!!
Remember that plain white cabinet?

Well... white NO MORE!!!

I hope this cabinet solution will be an inspiration to you !
Good luck! ;)